Apex Data Loader in Salesforce
Introduction to Apex Data Loader:
Apex Data Loader is a client app for import or export of data in bulk. Use it to insert, update, upsert, delete, or export Salesforce records based on need. When importing data, Data Loader reads, extracts, and loads data from comma-separated values (CSV) files format. When exporting data, it results CSV files.
How to work on Apex Data Loader.
Installing Data Loader:
- Log in to your salesforce account.
- Visit https://www.azul.com/downloads/zulu/zulu-windows/ and Install Zulu OpenJDK version 11 for Windows using the .MSI file.
- Go to setup > Data management > Data Loader. Below screen would open and Click ‘Download Data Loader for Windows’

- Right-click the .zip file and select Extract All.
- In the Data Loader folder, double-click the install.bat file.
- Specify whether to create a Data Loader launch icon on your desktop or a start menu shortcut. Data Loader completes the installation.
Following is look and feel of installed data loader.

To log in to data loader you must need Security Token. To get the token follow the following steps.
Generate Security Token in Salesforce
Click on My Settings under your name at the top right side of your screen.
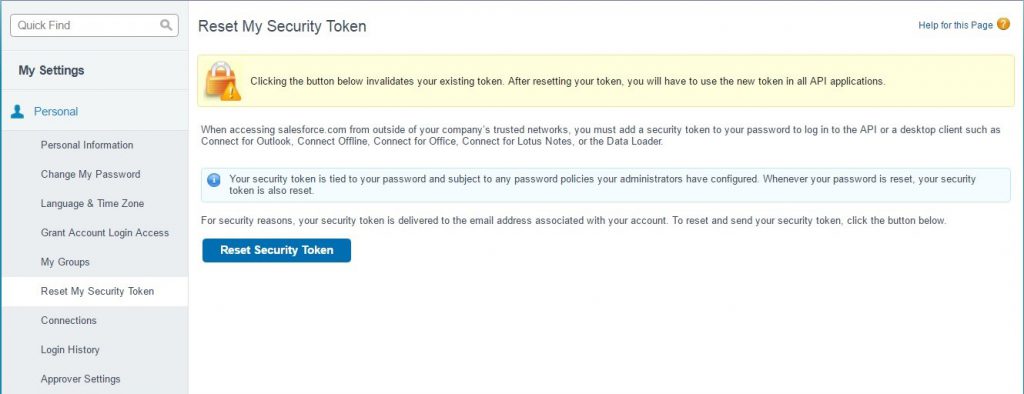
Click on Personal > Reset my security token and then click Reset Security Token button

After clicking Reset Security Token button salesforce sends the token in your register email id. Copy the( the token is case sensitive) token from your email. To login into data loader you have to type Password + SecutityToken in dataloader. See the reference guild line below.

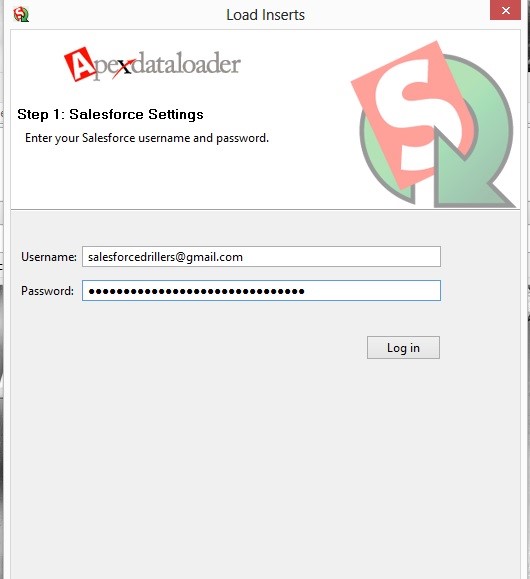
Login in dataloader by clicking any operation. Here we sre clicking Export button. Login with your credentials, during login provide your username and “your org password + security token”, which you already generated. and then click Login button.

After login below screen will display. Select your object. Here we are selecting Books object and then click Next button.

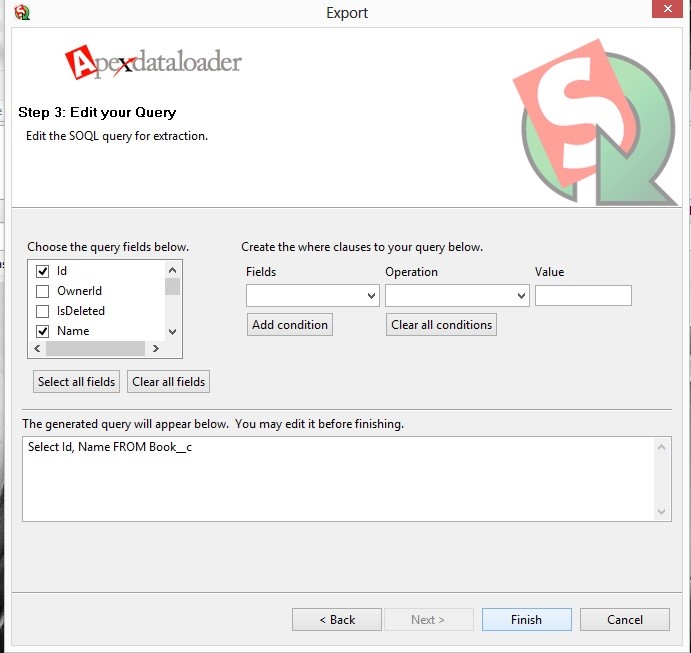
Select you required fields. here we are choosing id, name and then click Finish button.

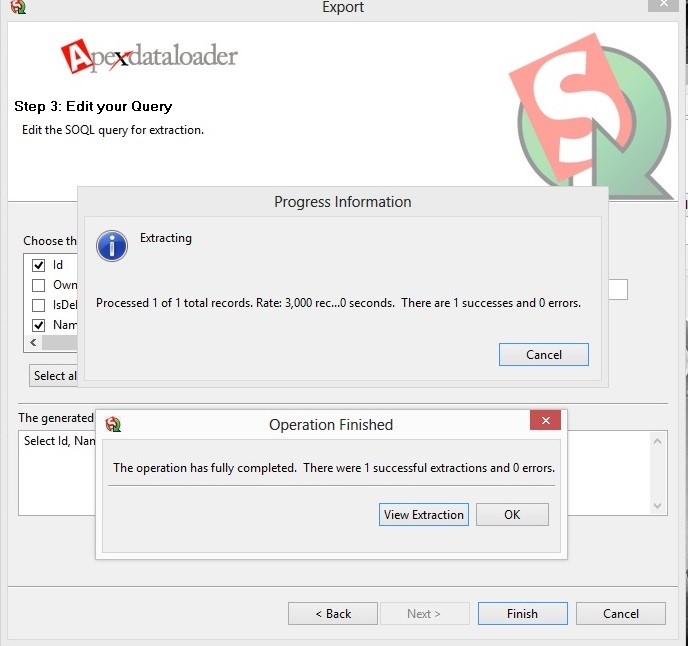
After clicking Finish button you will see the operation popup. click the View Extraction button and see the result.

Salesforce Data Loader Operations:
Inserting records:
Click on Import button and then click on NEXT and then select the object you want to insert the records and then choose the .csv file format you want upload.
Note: Data loader allow only .csv files. Map the fields by using drag and drop and then click on ok or save the mapping if you need that in future. Then click on NEXT button and then click on Finish to finish this operation. After inserting records it will display error files as well as success files, based on that you can identify that how many records got inserted successfully or not.
Update: To update the records into Salesforce click on Update button. Next select the .csv file contains updated records with IDs (always remember that only those records you can update for which you have an IDs as yor already aware that only those records can update which ever inserted into Salesforce) and then select the object and complete the operation.
Upsert: Upsert also similar to update but here you can insert new records also. By using this operation you can insert new records and update existing new records for which you have IDs.
Export: Export means downloading the data from an organization to your local.
- Click on export button and then login with your required credentials.
- Select the object for which you want to export data and specify the folder where you want to save this exported file.
- And then finish this operation.
Export All: “Export All” means it will export the data including data in recycle bin too (Object + recycle bin i.e. deleted records also).
Delete: Delete means, it will delete data from your org. To delete the data first you want export the existing data with ID’s and then by using this file we can delete the data by using exported IDs. The data deleted by this operation will be available in recycle bin for 15 days. If you want to delete your data permanently choose hard delete option.
To delete data from object follow below mentioned steps:
- Click on delete button and login with your org required credentials.
- Select the object which you want to remove the data. And then select the .csv files with record ID’s which you want remove.
- Map the ID field and then complete operation.
Hard Delete: Hard delete means deleting the data permanently from the org including recycle bin. This mean your data will not be stored recycle bin. To enable this button you need to enable bulk API setting. To enable bulk API button go to data loader settings and then enable bulk API option check box.
