How To Create Dashboard
Introduction to Dashboard in Salesforce:
Dashboard is a graphical representation of your data which take report as a data source and based on that generate different types of graphs so that you will go in more insights than reports as graphical representation is always gives you summarized result very quickly.
Dashboard components and their usage Charts, tables, metrics, gauges are components in the dashboard. Person can select any of these components to view data.
Chart: Chart is used to present your data graphically. Visualforce (VF) has a different variety of chart types to represent your data.
Gauge: This you can use when the single value needs to point within a range of custom values.
Metric: This you can use to represent data based on single key value.
Table: Table you can use to show the set of data.
Let’s now see the steps to create a new dashboard:
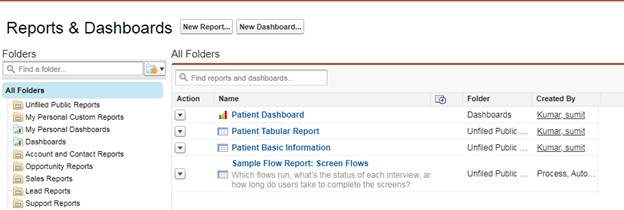
Step 1. So to start off you need to navigate to the reports tab and hit “New Dashboard” button directly next to “New Report” button.
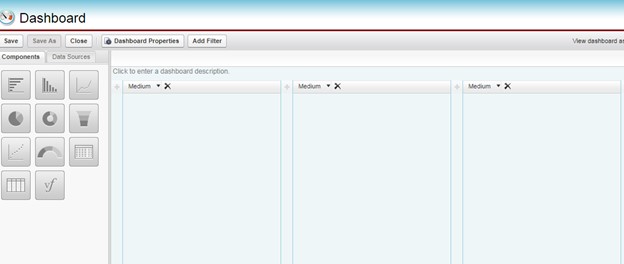
Step 2. After this you will then see the layout design manager for your dashboard. On left hand side you will be able to see the different types of dashboard components you can add to your dashboard based on the need. The top two starting from the left are bar charts, like a line graph, pie chart and etc.
Step 3. Choose your desired component then and simply drag and drop it to your chosen column.
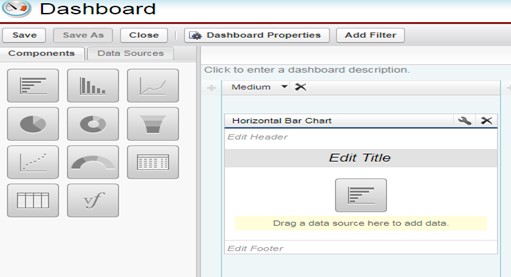
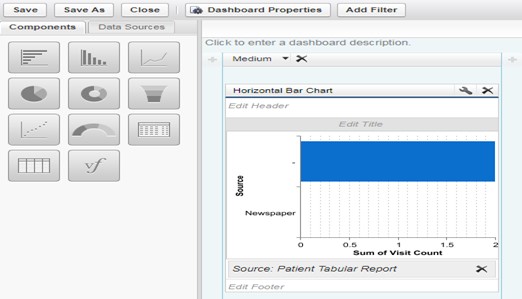
Step 4. Next step is to populate that chart with data. On the tab next to components you will see Data Sources (i.e. source of your data like your report/Visualforce). Once you have selected your desired report then simply drag and drop it onto the component and Click Save. Below screen would appear.
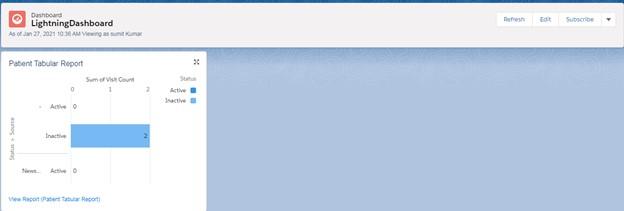
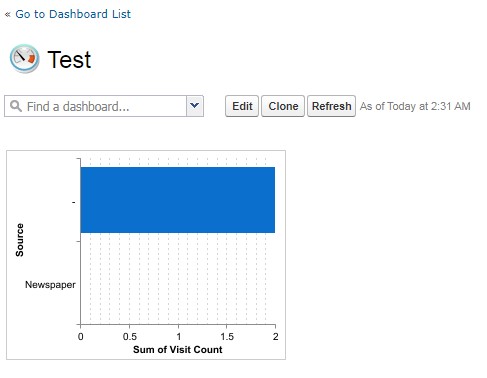
Step 5. Finally Dashboard would look as below.
In Lightning Experience: How To Create Dashboard
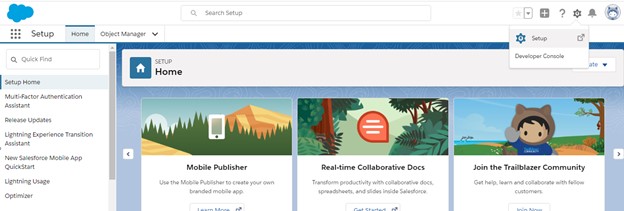
Step 1. . Click ![]() from right top side in your screen and then click Setup
from right top side in your screen and then click Setup
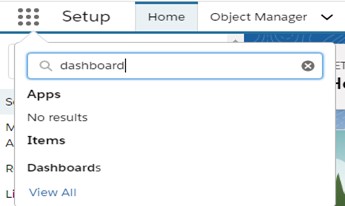
Step 2. From the App Launcher (![]() ), find Dashboard and Click Dashboards in results.
), find Dashboard and Click Dashboards in results.
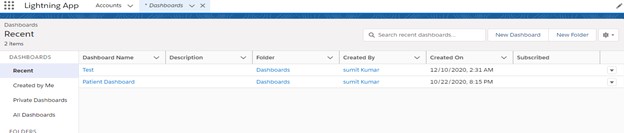
Step 3. Click New Dashboard button
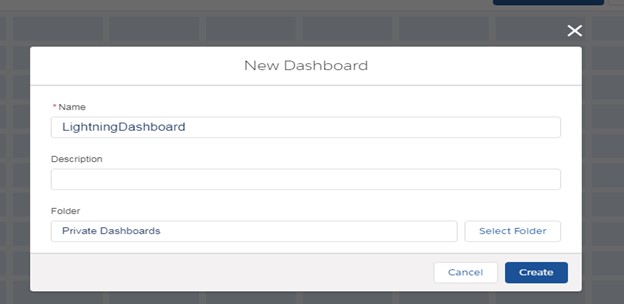
Step 4. Populate Dashboard Name and Select Folder where dashboard is to be stored and click Create button.
Step 5. Click Component button on below screen to add components in dashboard.

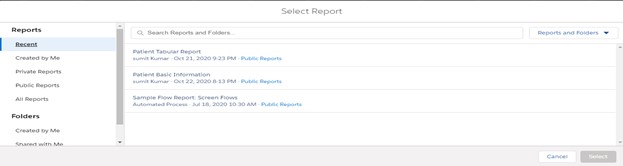
Step 6. Click Reports which need to be added and then click Select button.
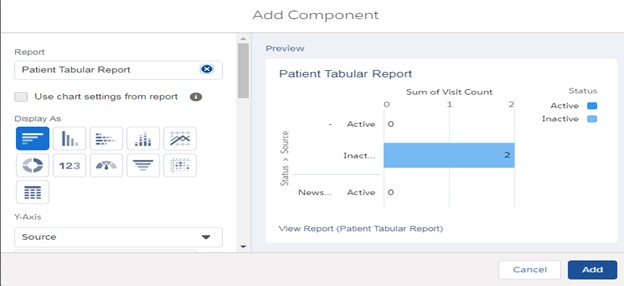
Step 7. Select component which need to be added on dashboard and click add button.
Step 8. Component would be added on dashboard as below and now click Done.
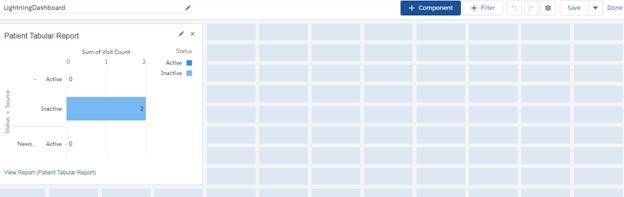
Step 9. Finally Dashboard would look as below.